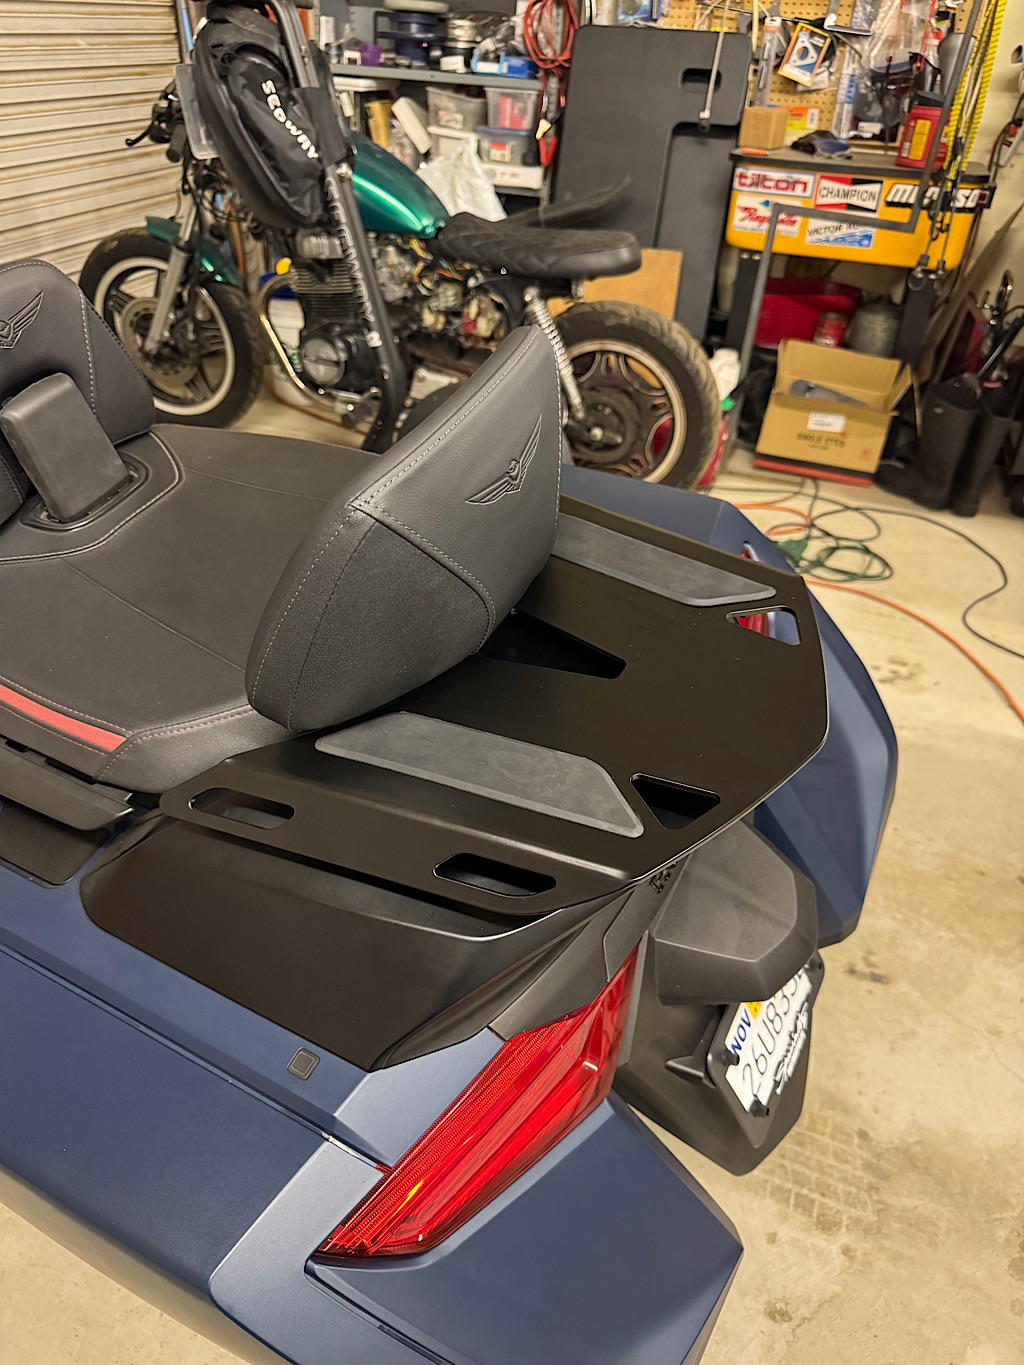
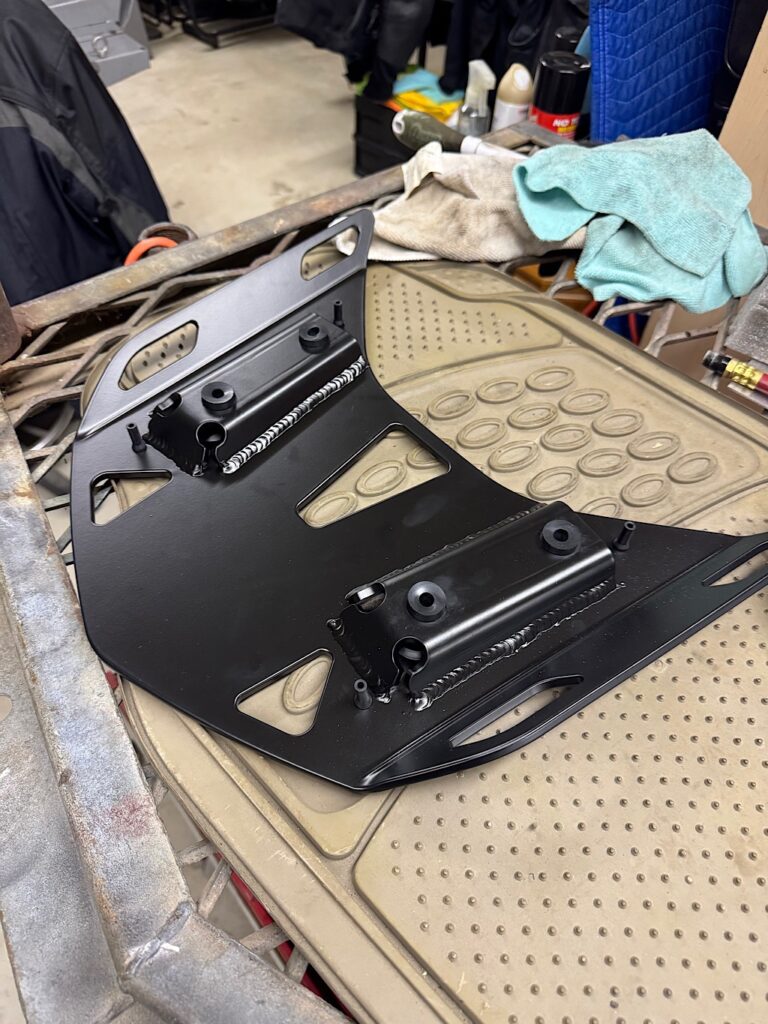
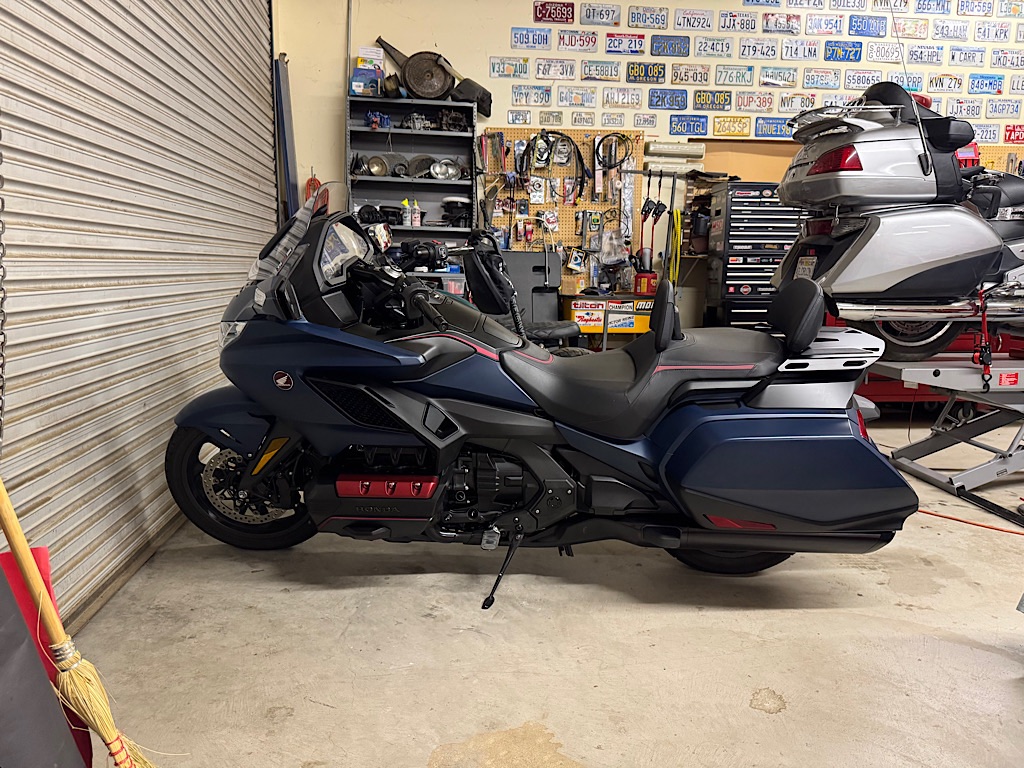
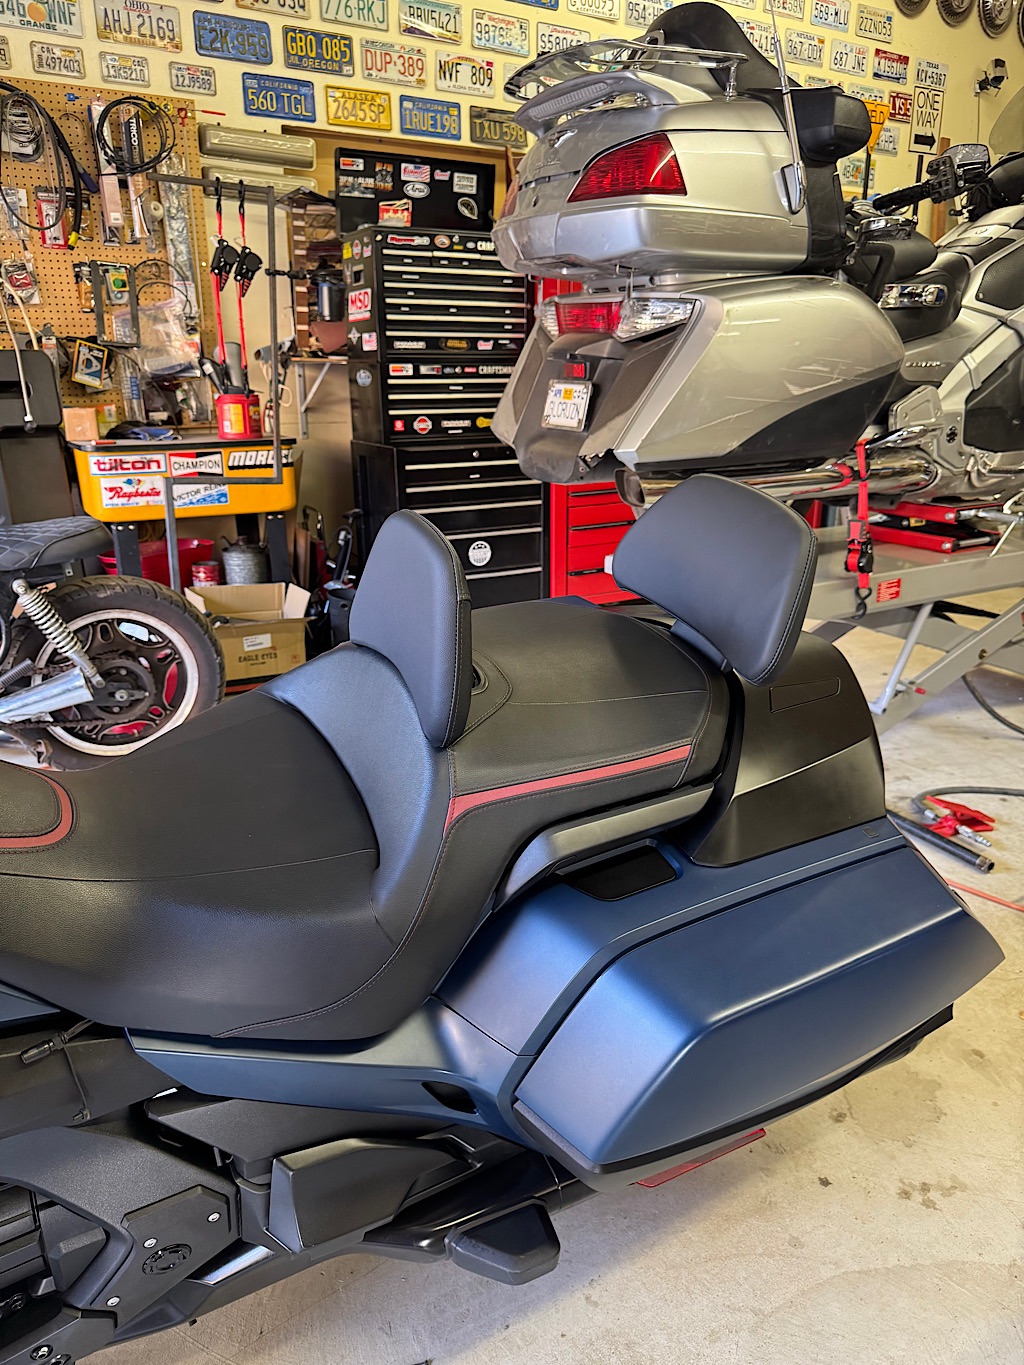
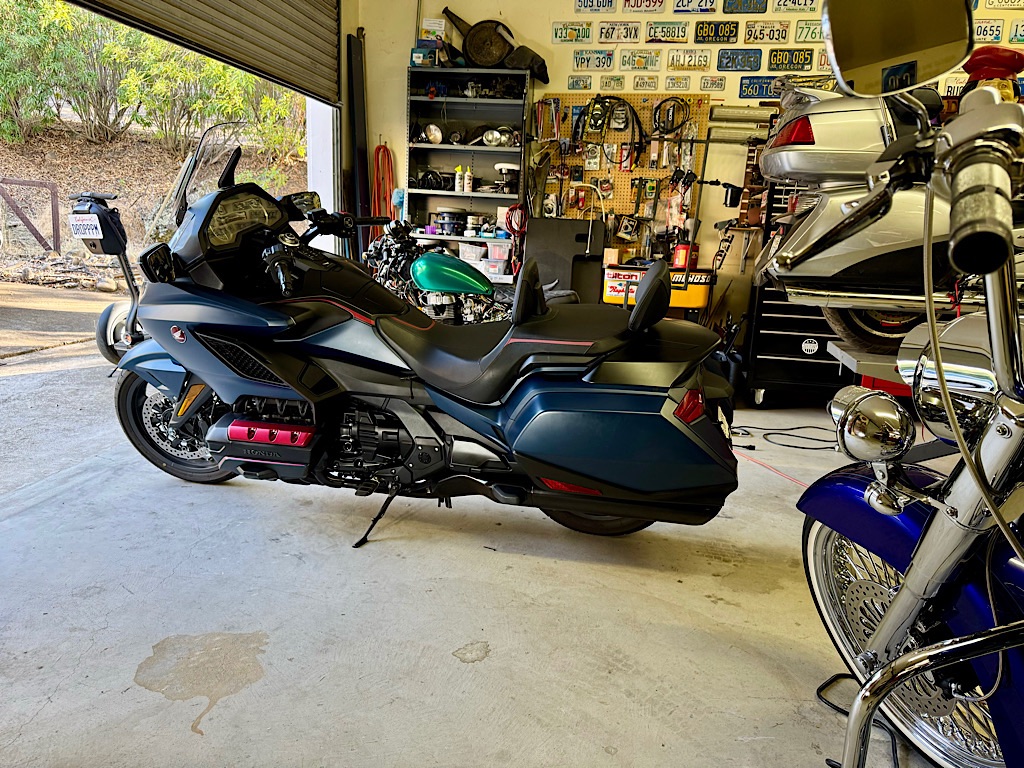
Installed the rear luggage rack this afternoon. Very simple process.
The fit and finish is spot on. There was no odd alignment issues.
I’ve seen several manufacturers for this particular part. I think most are knock offs of the original Honda OEM part.
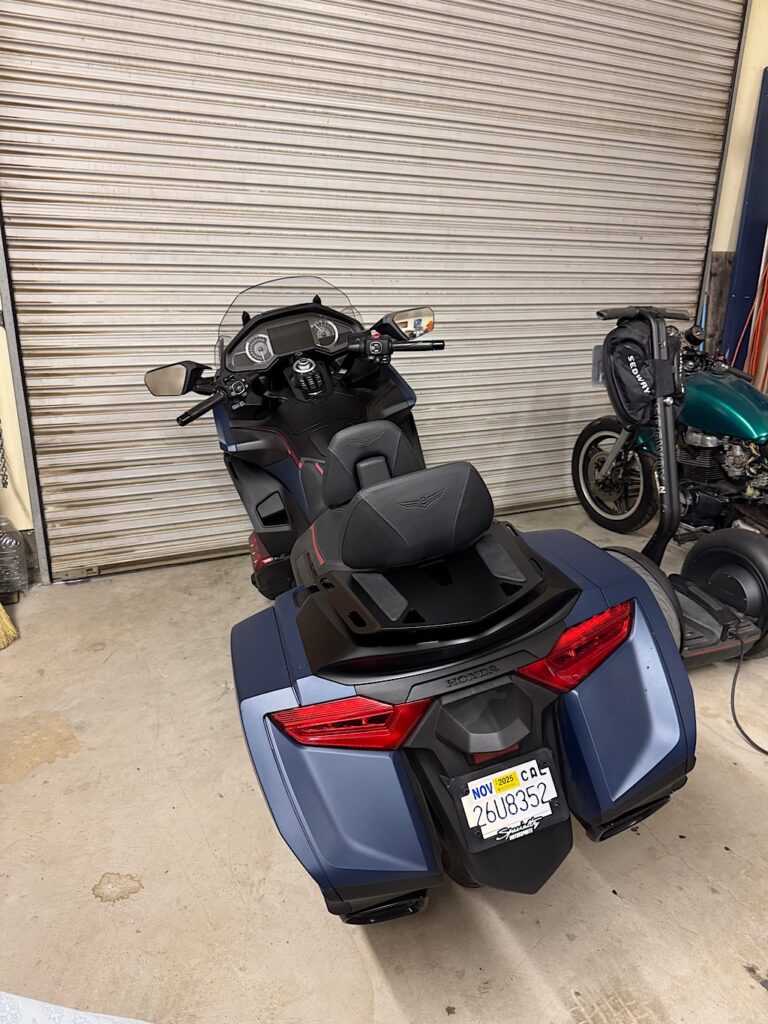
One thing I noticed with the rear passenger backrest was the angle appeared to be less leaning towards the back. It is simply an illusion because adding the luggage rack had no changes made to the backrest.
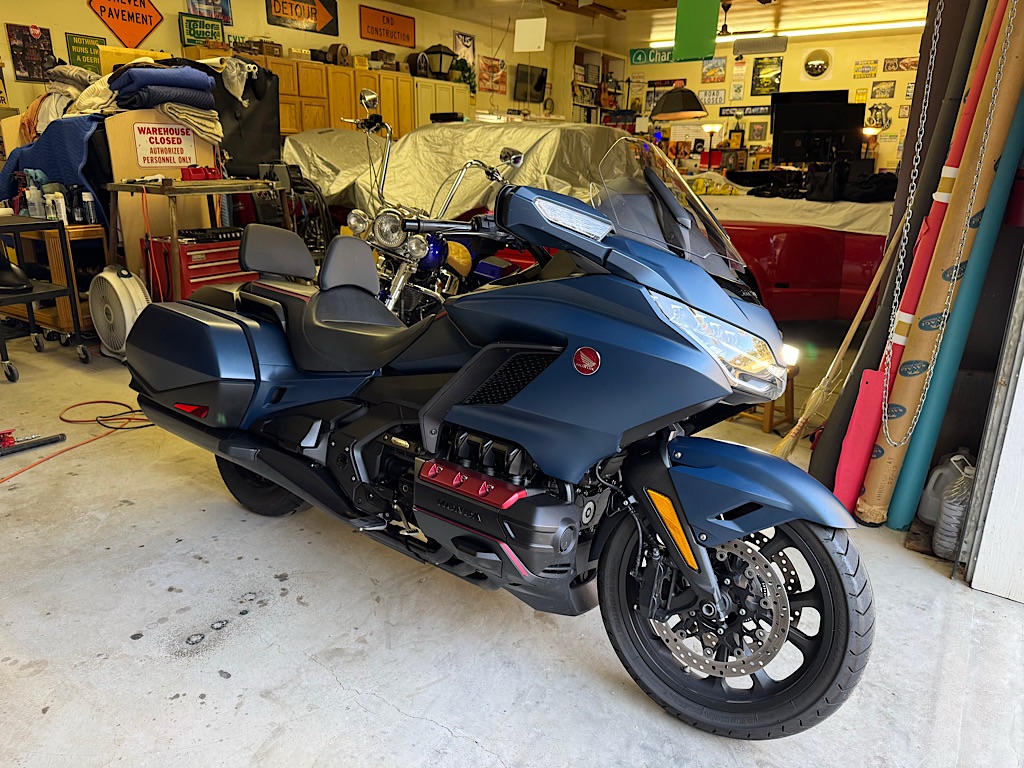
I’m so used to having a back rest on my sleds it was a priority for me to install one as soon as I could. That meant researching the current manufactures products.
I opted for the Honda OEM model. This is the first time I haven’t purchased other 3rd party solutions. I’ve used Utopia, Kuryakyn, Ultimate and others.
The OEM Honda style cosmetically looks the best to me. As far as functionality I don’t think it is as versatile as the 3rd party offerings. Both the rider and passenger seat do not have a quick release. The backrest are always on the sled.
The other odd thing about the passenger seat is the inability to adjust the vertical position. It’s a static position that seems to have backward tilt that is bit too much.
The angle of the seat may be adjusted by using spacers and longer bolts on the brackets 3 hole mount.
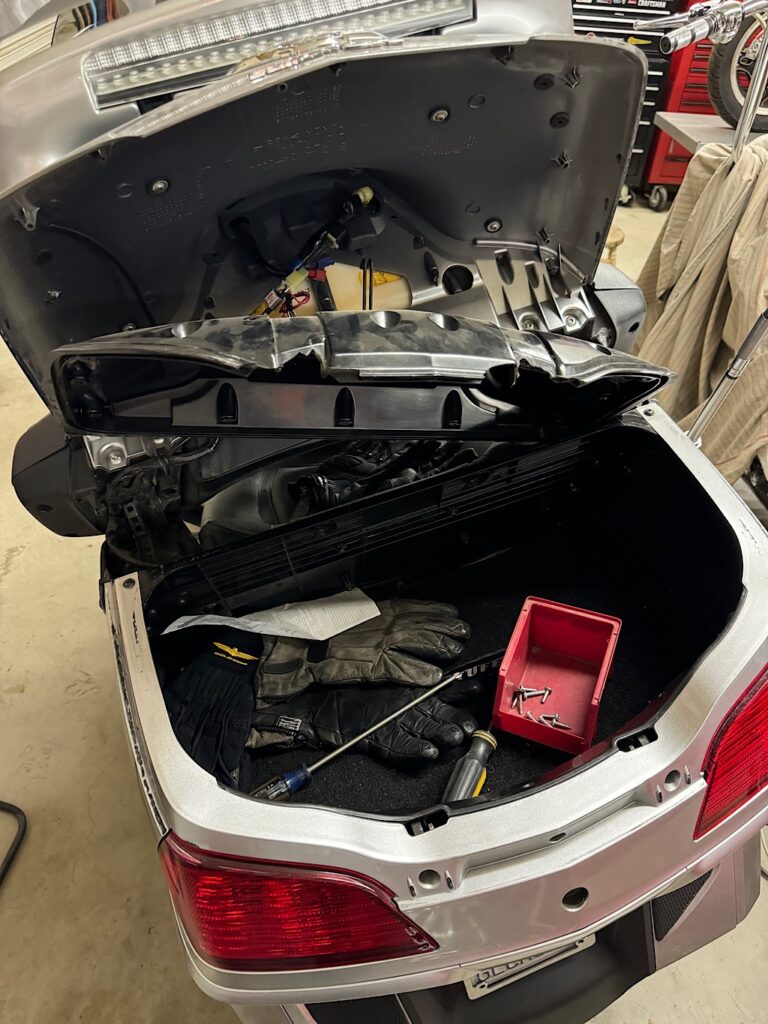
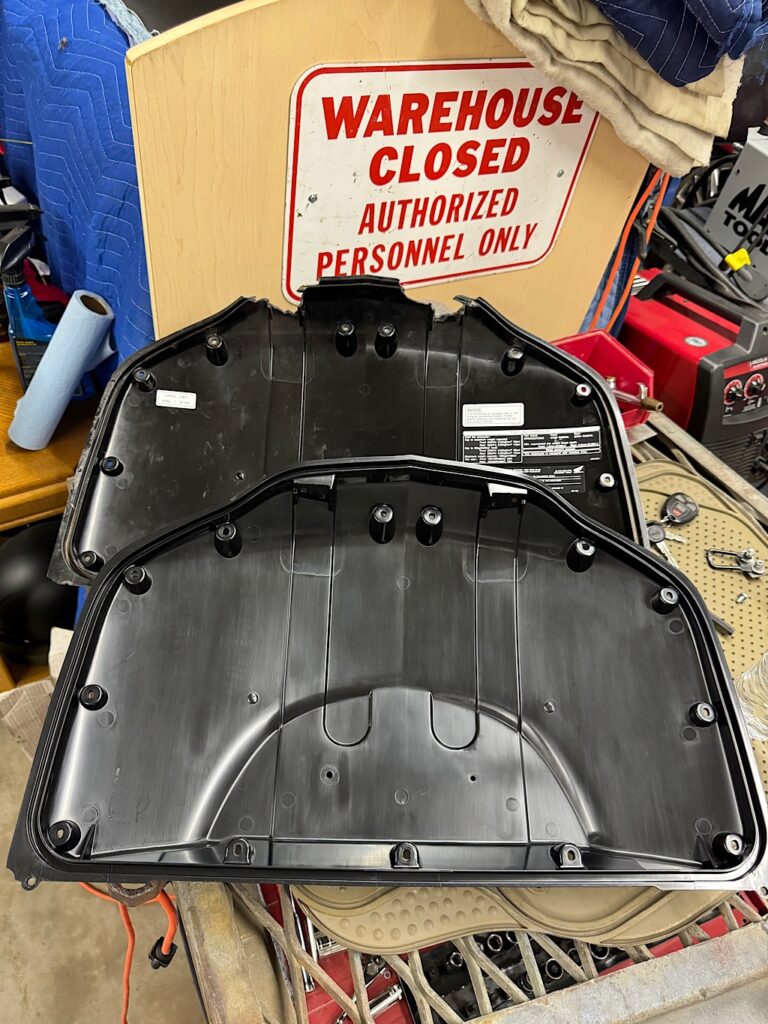
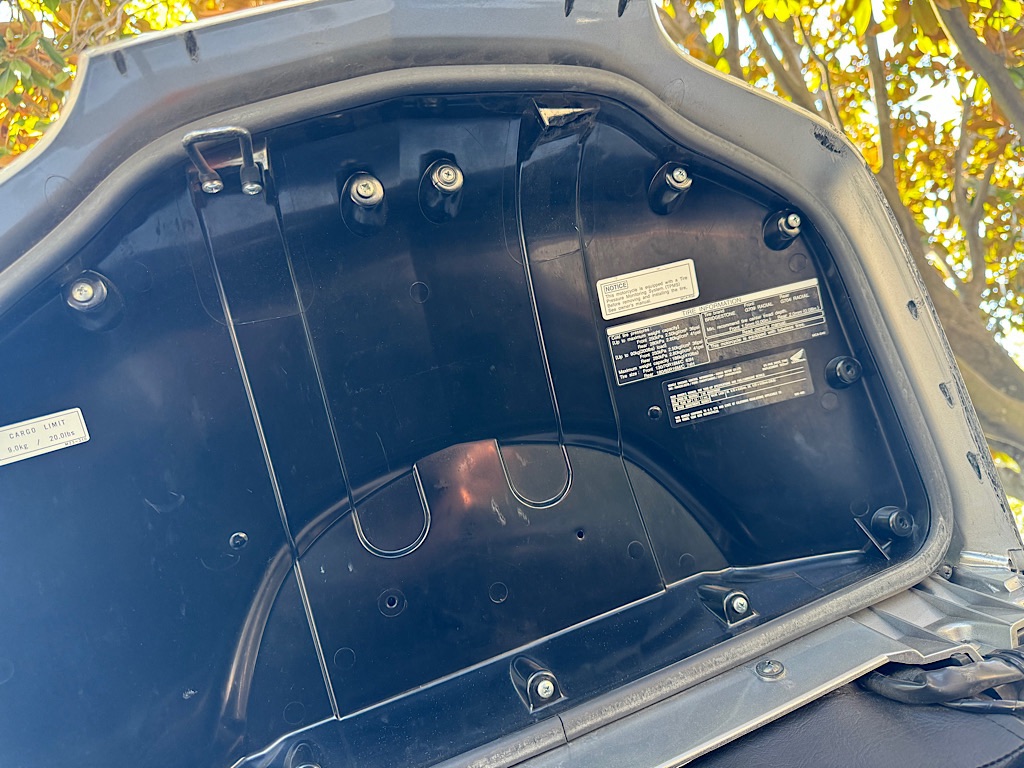
Took the various screws off that secures the trunk inner lid. I’m going to need to find replacement screws that are a bit larger in diameter. EDIT: I picked up all the hardware I needed at the local ACE store. I made sure to locktite 8-32 bolts I used for the trunk lock hooks. I also used lock nuts, I learned from the past fails trying to fix the original problem.
The original lid had a lot of damage. I found it was missing other areas on the lid.
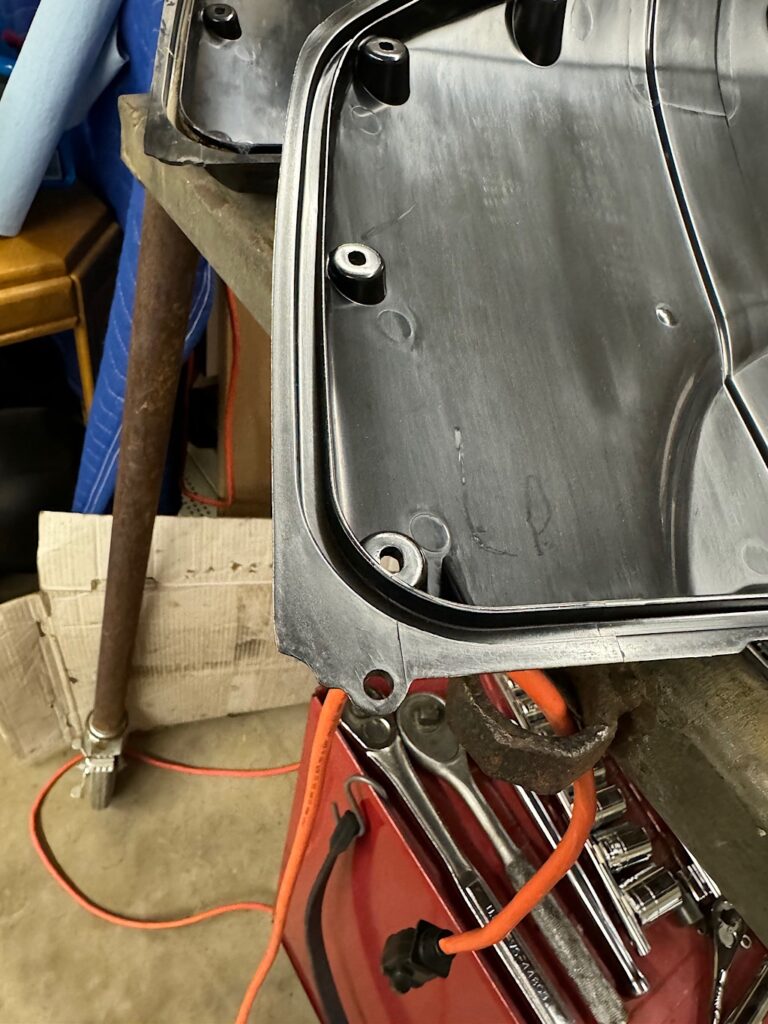
The lower corner section on both sides of the cover was completely gone.
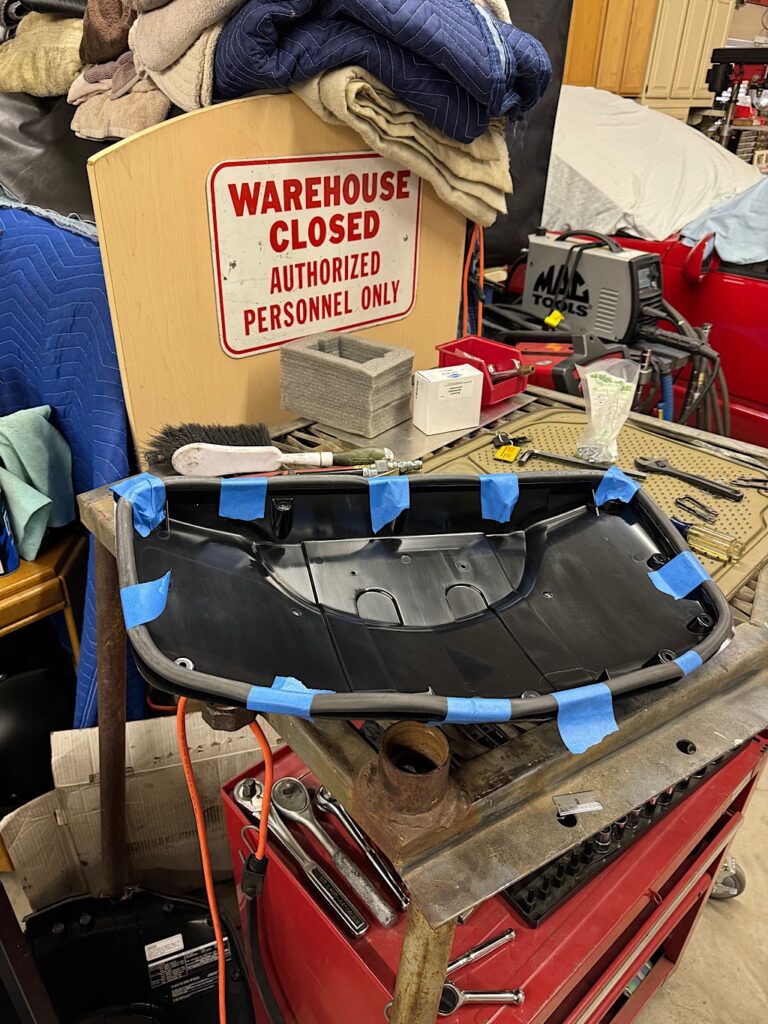
One thing that was unexpected was having to reuse the rubber seal that goes around the lid. Mine was in good shape for reuse. I’ll probably use some sealant to keep in place, just a few tacks around lid to keep it in place.
For the past couple of years I’ve messing with the trunk inner lid. The plastic area the loop latch attaches will become weak in time and eventually crack. I have tried repairing it with liquid cement, metal brackets and various bolts and screws each repair would eventually fail.
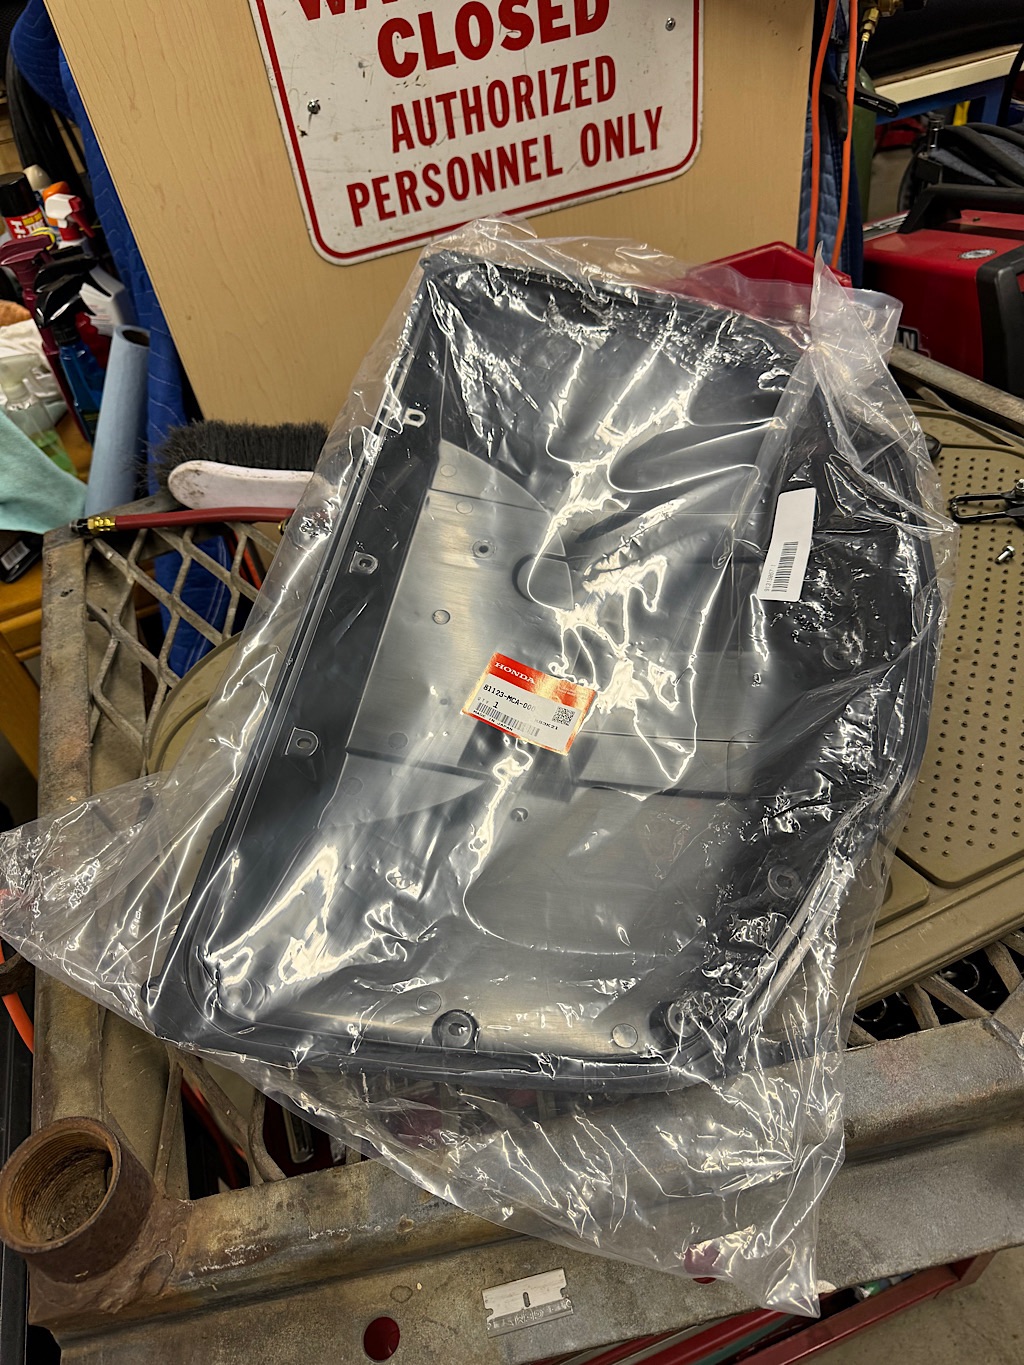
As it turns out the OEM replacement part is not expensive and readily available minus the shipment time. I went ahead and purchased one and it should be delivered by next weekend. I will need to source out the OEM screws as the current hardware is not Honda Factory issued and definitely looks like it was pieced together with bits and pieces laying around a garage.
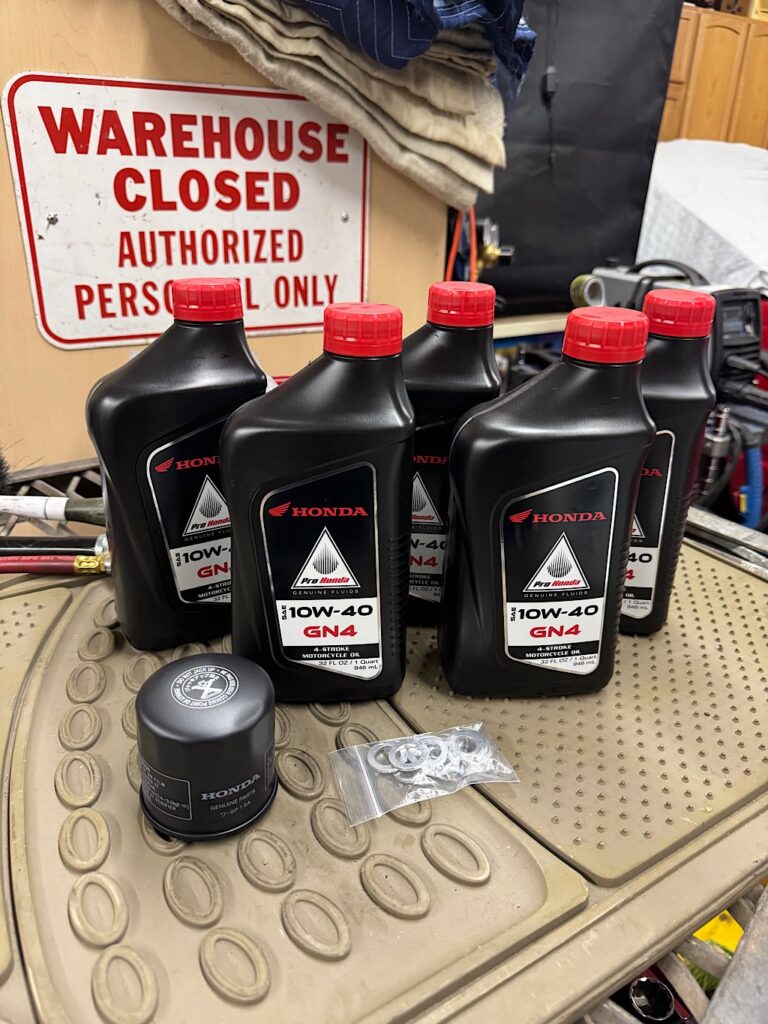
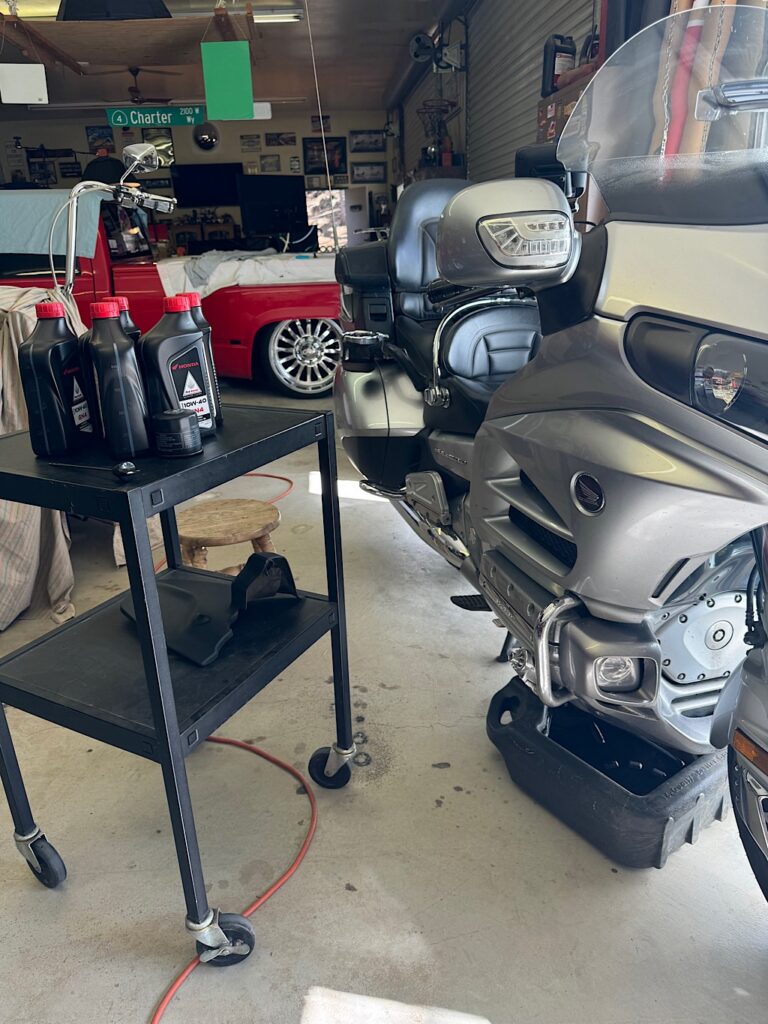
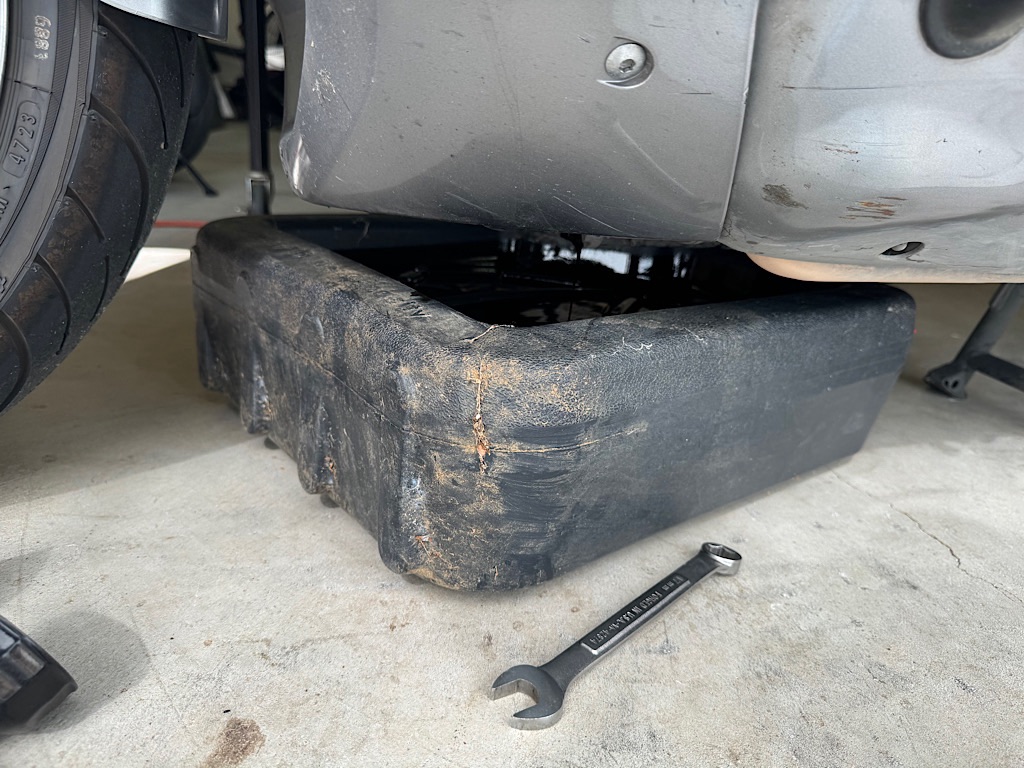
Saturday morning time maintenance. The sled is due for an oil change… okay way past due for an oil change. It is common practice to drain the oil and replace the filter. Just add 4 quarts of oil and your good, some don’t even bother measuring the dipstick.
EDIT: I could not get an odometer reading for the digital readout due to a trunk not closed flashing on the dashboard. The approximate mileage would be 69,200 miles.
I do the same but I will measure the dipstick and fill to the center line. I’ll run the motor for awhile check, add and restart the process. It seems I’m a little bit over 4 quarts each time. The recommended quantity amound is 3.9 quarts.
I believe the recommended Honda service manual maintenance section states changing the oil every 8,000 miles. If you’re running some type of synthetic oil you can hit up to 10,000 miles as long as the filter is decent quality.
With the amount of miles I do per year and the non-stop riding I can hit the miles limit very quickly. I’ve heard of some guys changing their oil when they hit 3-5k miles. That would be unreasonable for me to try and keep up with that type of schedule. At a minimum I ride 2500 miles a month back and forth commuting to work. This does not include all the places I ride during the weekends.
The local auto parts stores have the service that allows you to bring your used oil and fluids and they will discard it for you. It’s sometimes hit and miss as the recycle tubs are commonly filled and you have to come back another day. I was lucky and found one of the shops had space after leaving another parts store that had no room left in their tank.
I thought I’d use the term Pulse Generator instead of the other commonly used “ignition pulse crankshaft position sensor”.
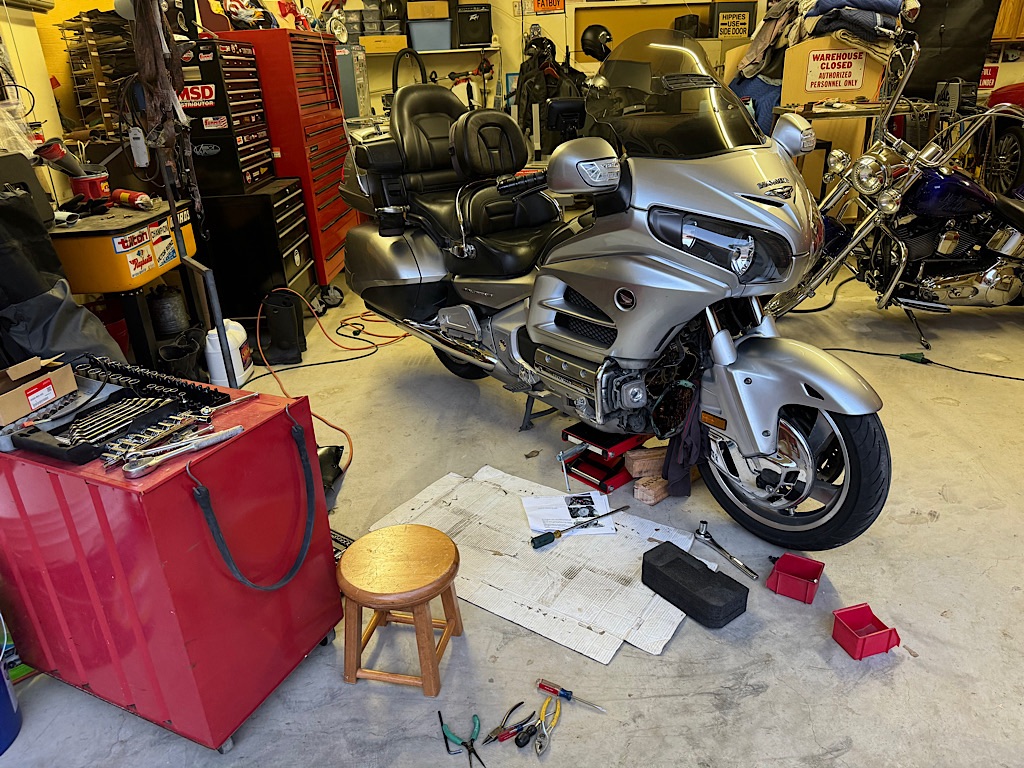
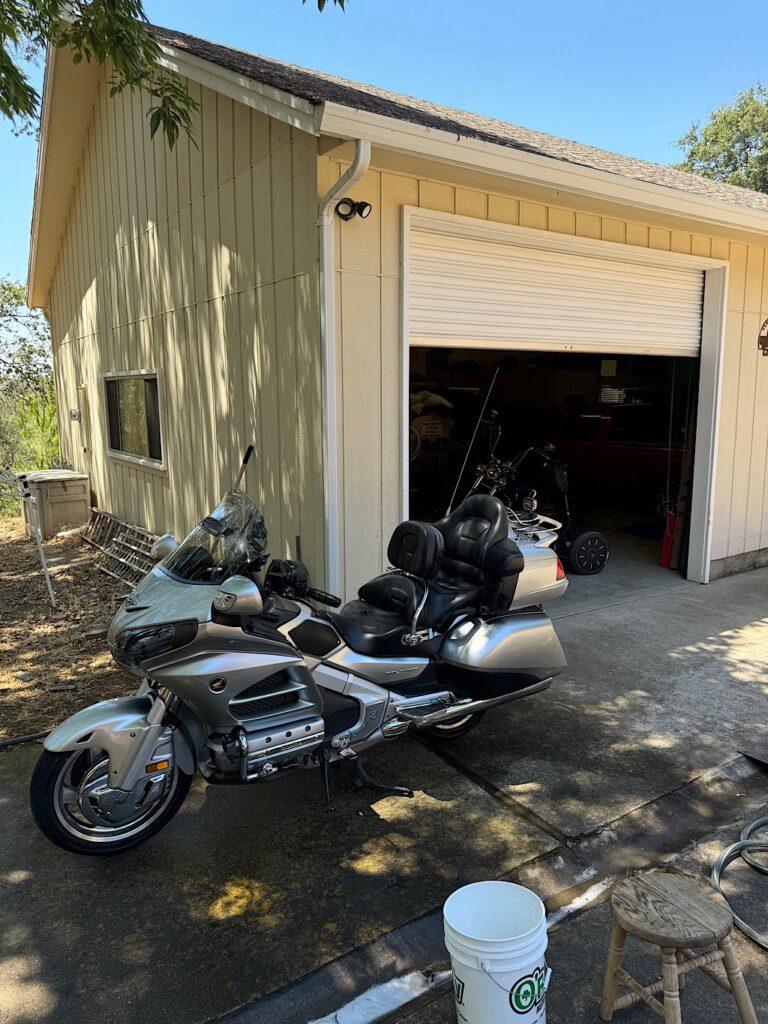
I started this Friday evening to get a start on the tear down.
The front upper and center cowling requires removal to perform this project. I didn’t have to remove the front fender, I drape a towel over it for some form of protection.
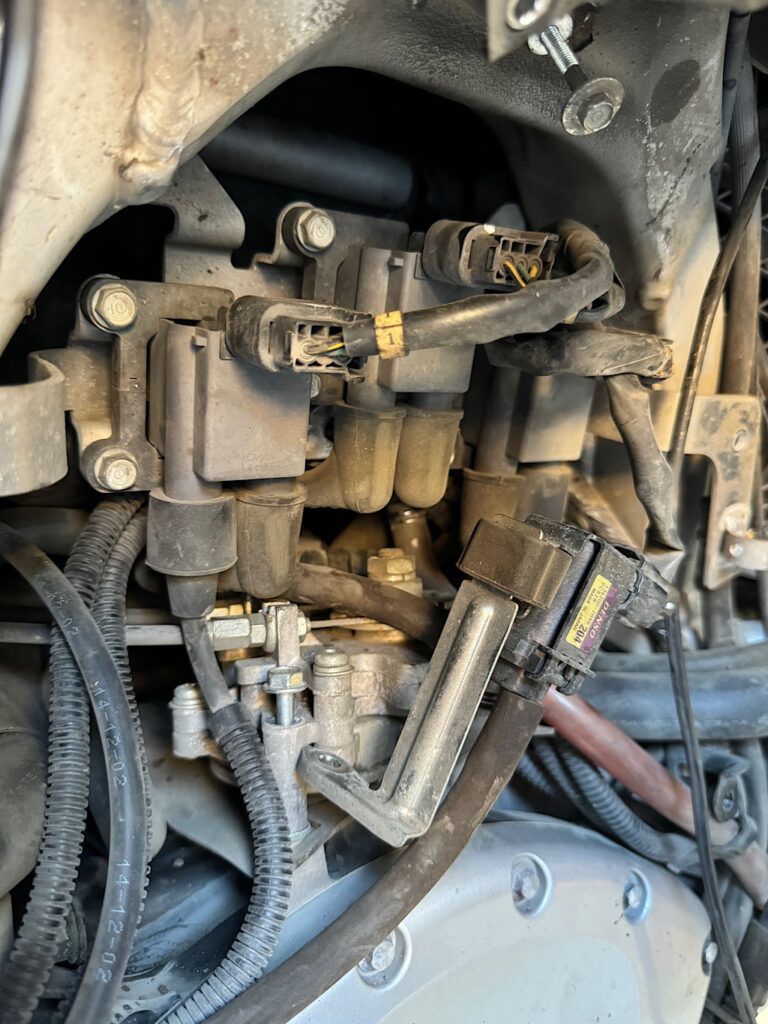
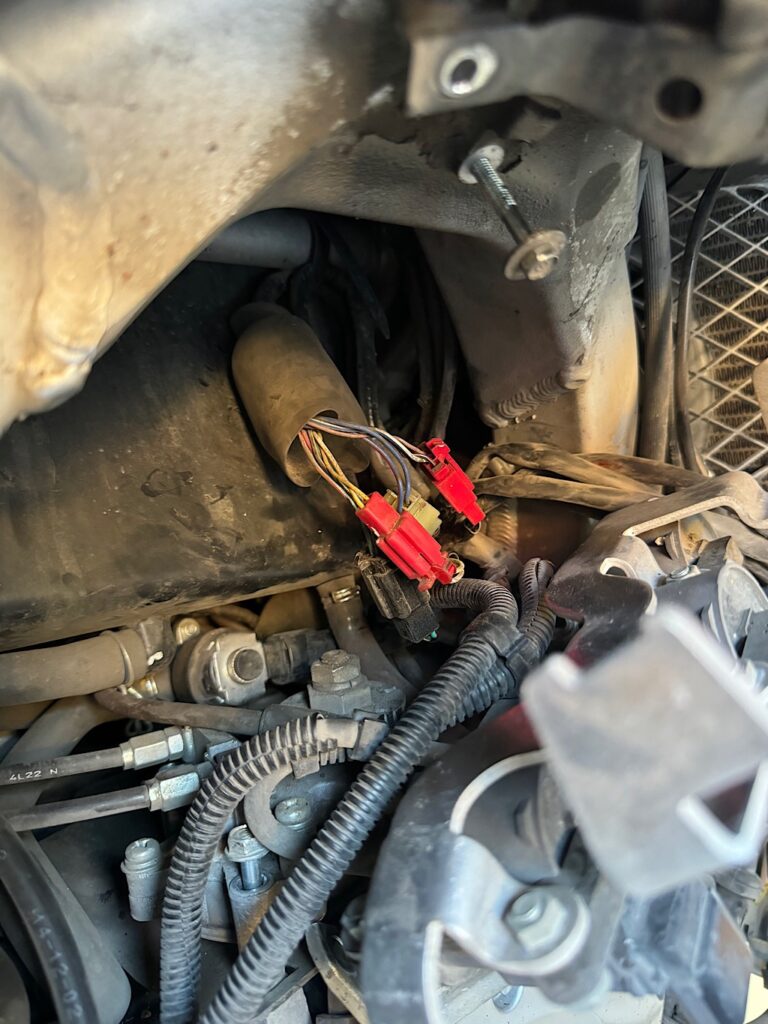
Once the front plastic pieces are removed you’ll see the regulators and purge valve located at the upper section as shown in the photo below. I have the non-ABS model and it is not necessary to go from above to access the Pulse Generator 2P connector. Everything will be done from the front of the engine.
The following instruction was taken from an online Goldwing forum. I did not create this procedure but I can say it is what I used to perform the part replacement.
Here are the instructions from Greg:
“If you have ABS, you’ll need to pull the tank and air box to get to the 2P connector.
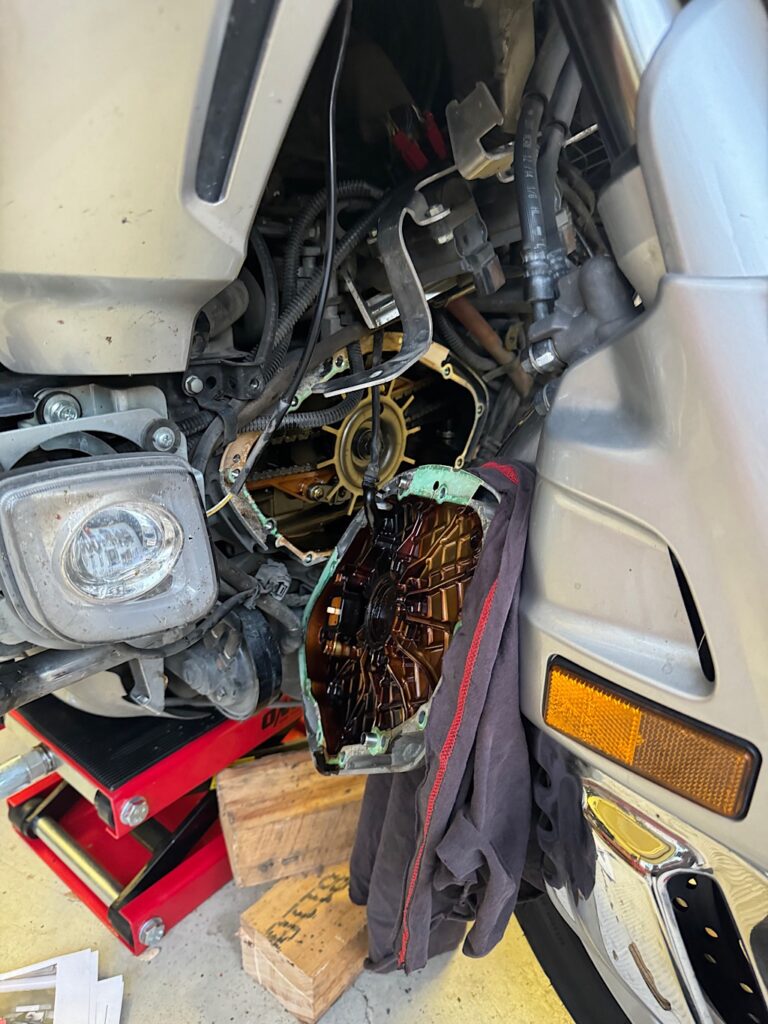
If not, remove the upper center cowl, the single bolt and vacuum hose, to allow the canister’s purge control solenoid to fall. Then unplug the on each side. Wrap the coils in a towel and allow the coils to fall on the the back part of the front fender. That should then give you access to the boot the connector is in”.
Once the purge valve and regulator housing has been loosened and moved forward the Pulse Generator 2P is accessible for removal.
The 2P is bundled with a few others wrapped in a dust boot. You will need to slide the boot cover out of the way to unclip the mating connector.
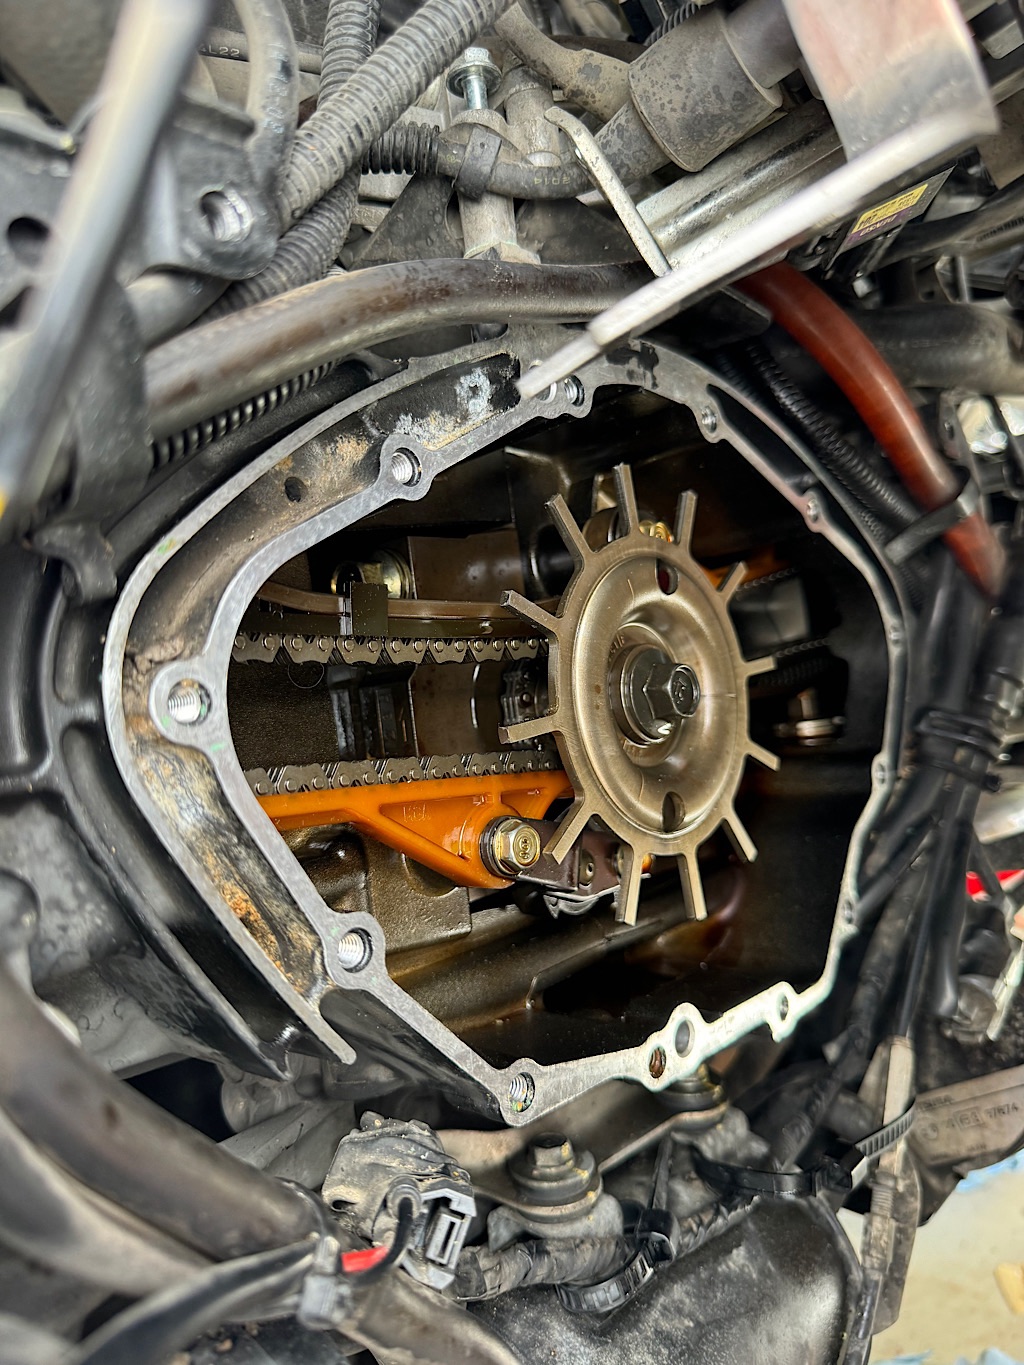
To access the pulse generator, the timing cover will need to be taken off. This is done by removing the 12 cover screws. You do not need to remove the crankshaft center dust cap. The cap can stay in place during the entire process.
In my case the timing cover has probably never been taken off. It was difficult to remove by hand. I ended up having to use a large blade screw driver to pry the cover off.
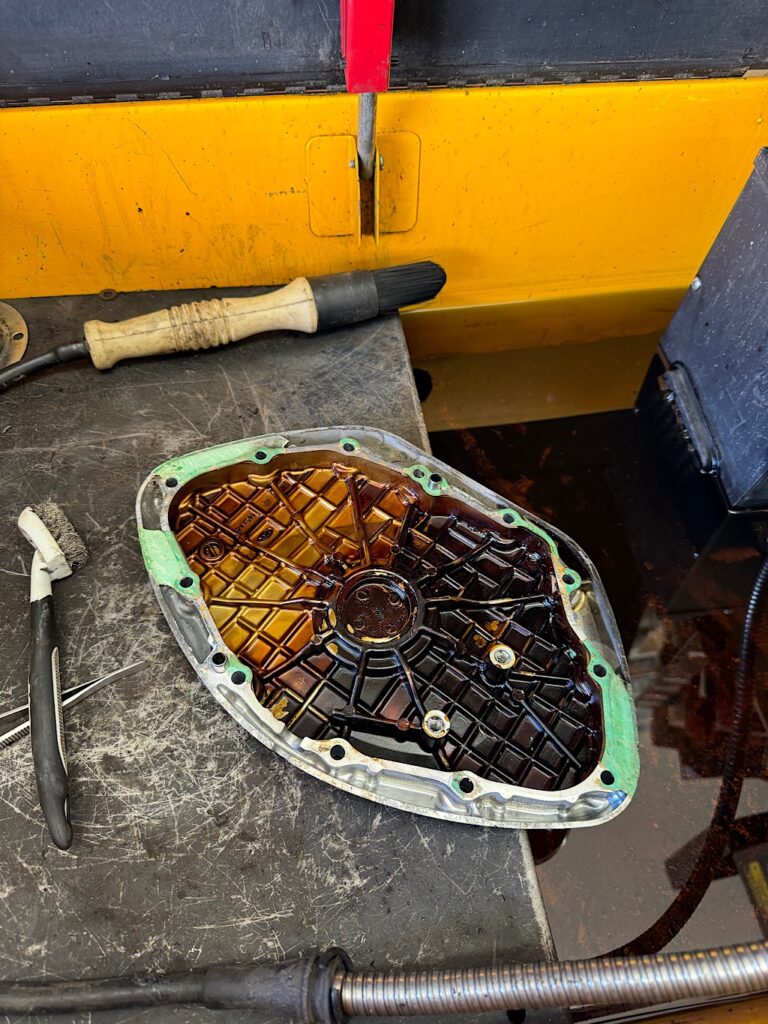
As expected pieces of the original gasket remained in place. With a bit of elbow grease and soaking the cover inside my parts cleaner tub, I was able to remove all the pieces.
Using a part cleaner tub makes a the job much easier.
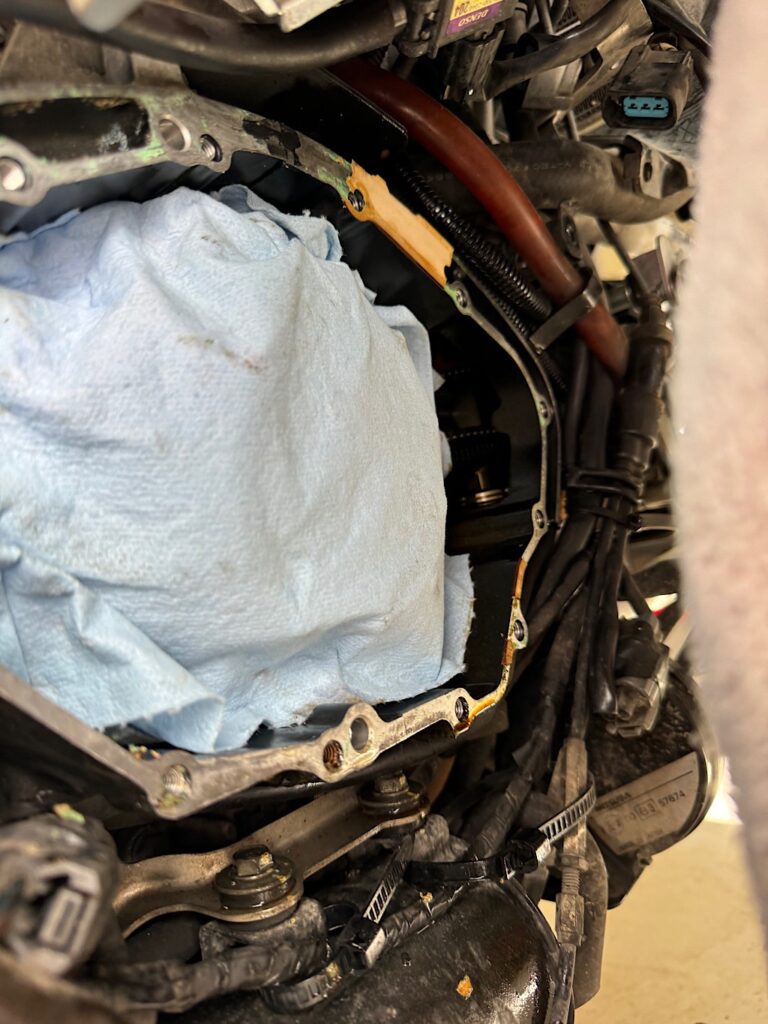
The engine housing also required gasket material removal. Since I’m not able to have the same luxury with the chemical tub application I used engine bay cleaner to soak the remain8g pieces. I take my time whenever I work on projects for the first time.
Case cleaned up and ready for the new part.
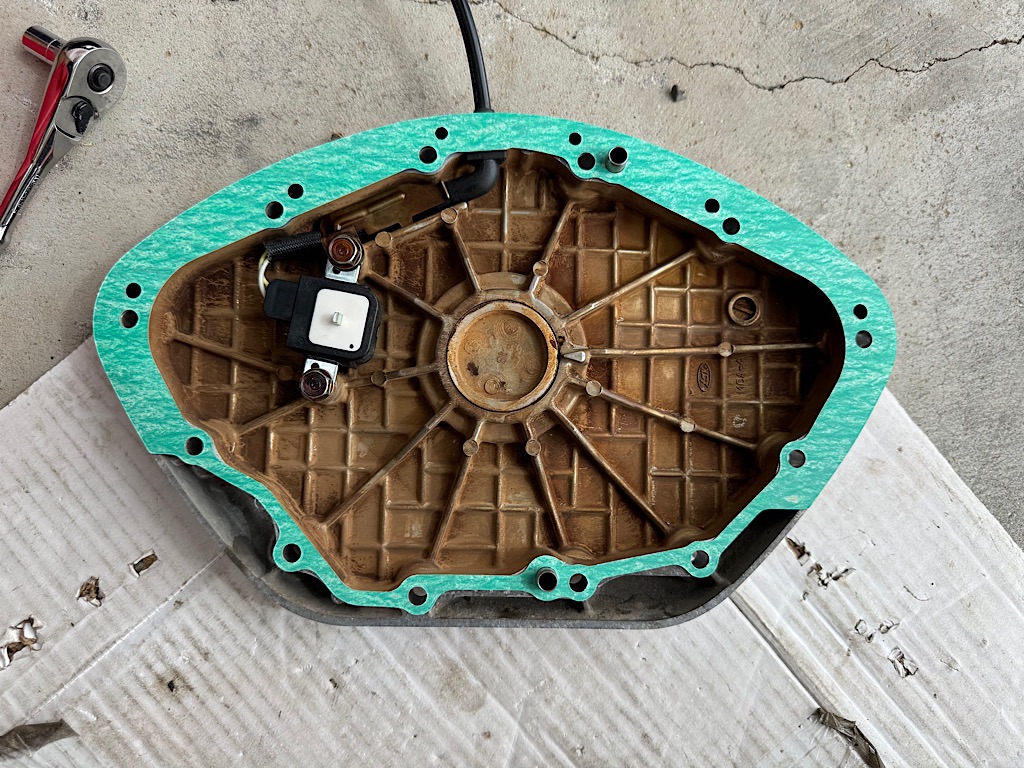
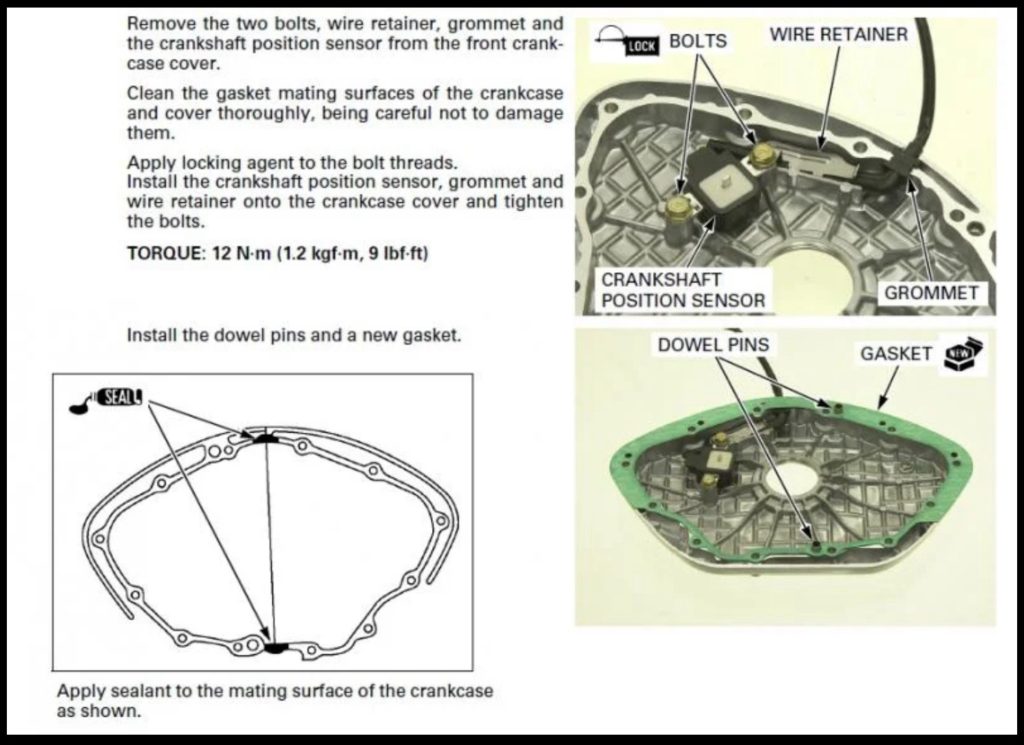
The pulse generator will be prewired to a 2P connector. I went ahead and bolted the part down and positioning the wires through the slotted opening. Once that is complete you can lay the gasket onto the timing cover using the 2 dowels for gasket alignment.
The installation procedure is essentially doing everything in reverse order. After buttoning the timing cover back in place and securing the regulators and purge valve I did a test start. It fired right up.
After installing the remaining pieces I gave the sled a wash. All ready for the next ride!
I thought this was a good place to use as a storage reminder for the replacement project later this weekend.
I ordered the recommended sealant, actually it’s “YamaBond 4” instead of the recommended HondaBond 4. I couldn’t get the Honda brand in time for to work on the bike this weekend. It’s scheduled to arrive by tomorrow.
The diagram is showing only 2 locations requiring the sealant. This is a dust gasket and not designed for fluid.
The actual Pulse Generator part is shown attached to the rear side of the timing cover.
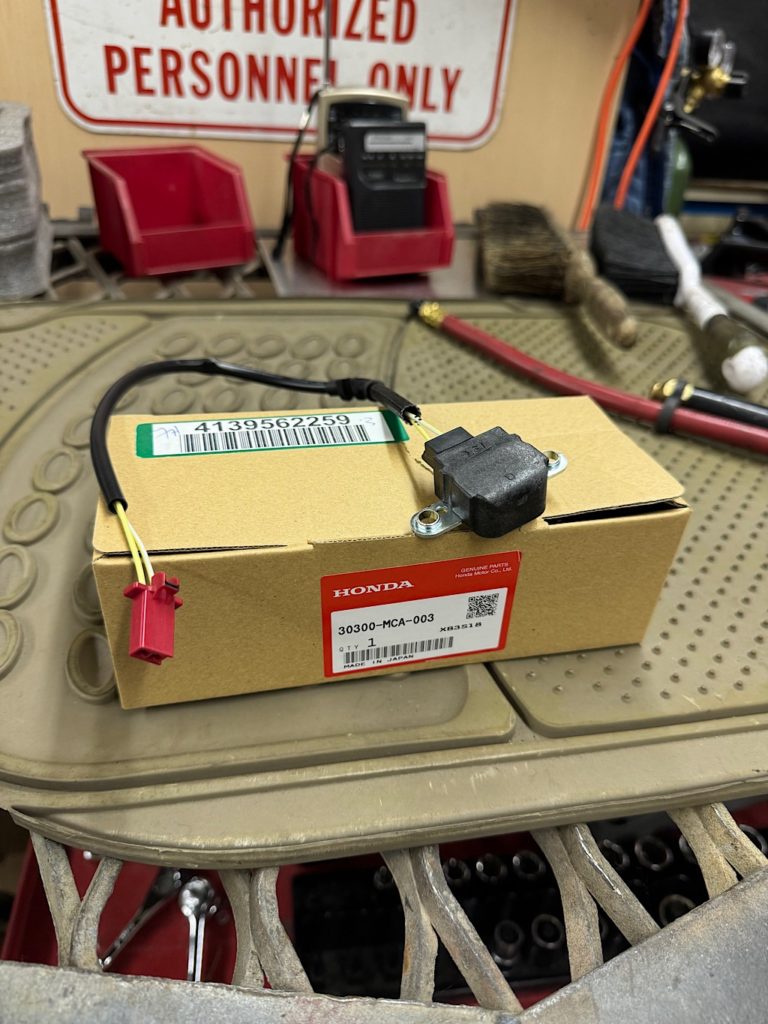
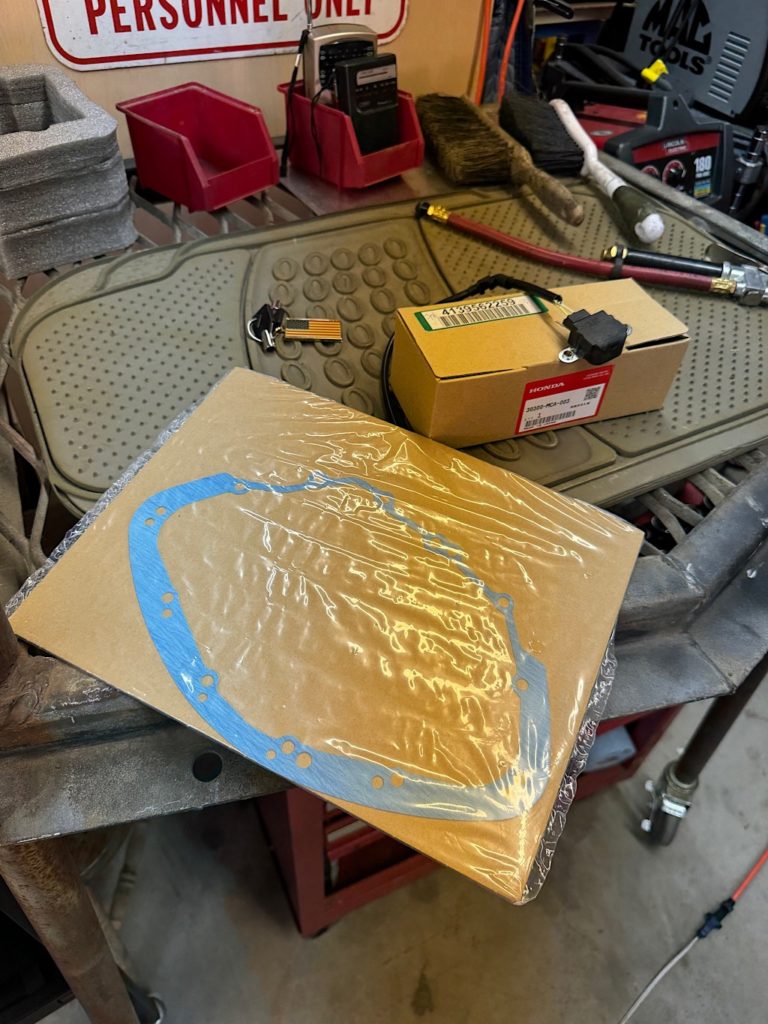
Parts for the ignition crankshaft sensor replacement. The official name of this part is the Pulse Generator. That will be the name used by Honda when ordering the part.
In order to get to the crankshaft position sensor the front lower cowl will need to be removed. A new gasket will be necessary.
So why am I replacing this part? From the research I’ve done the issues I have been having are related to the pulse generator. The symptoms are intermittent starting issues. The starter motor will crank like normal but the bike will not fire up. It keeps on turning over.
Some guys are saying a weak battery will do this and that’s a possibility since the battery I have is probably the original. I do keep the battery on a maintainer when not in use. So this is a slim possibility.
I will change out the part first to see if the intermittent problem completely goes away.
Note * I rode all last week without the starting issue so this is not an easy problem to troubleshoot.